Related Products KC761A KC761B KCSDI
The KC761A/B radiation detector has an RJ45 port for network connectivity and requires manual IP configuration. Users can connect the KC761 in different network situations such as using a network switch, router, or direct connection. Follow the steps below for each scenario and ensure both devices are on the same network.
Step 1: Gather Network Information
Before configuring the KC761, gather the network settings of your PC. These settings include the IP address, subnet mask, and gateway.
Step 2: Configure KC761 Network Settings
- Connect the KC761 with Ethernet cable.
- Press FUNC, communication, access the Ethernet Config menu on the KC761.
- Set the KC761’s network configuration to match the network segment of your PC. For example:
- Local IP Config: If your PC’s IP is 192.168.1.100, set the KC761’s IP to 192.168.1.x(for example x = 101).
- Local Gateway Config: Use the same gateway as your PC.
- Local Subnet Mask: Use the same subnet mask as your PC.
- Local TCP/IP Port Number: Ensure this is a unique port not used by other applications (default is typically work).
- Enable the Ethernet Switch on KC761.
Network Connection Scenarios
1. Direct Connection (PC to KC761)
- Connect the Ethernet cable directly between the PC and KC761.
- Set your PC as a Static IP mode
- Configure the KC761 IP settings to be on the same network segment as the PC.
2. Using a Network Switch or Router
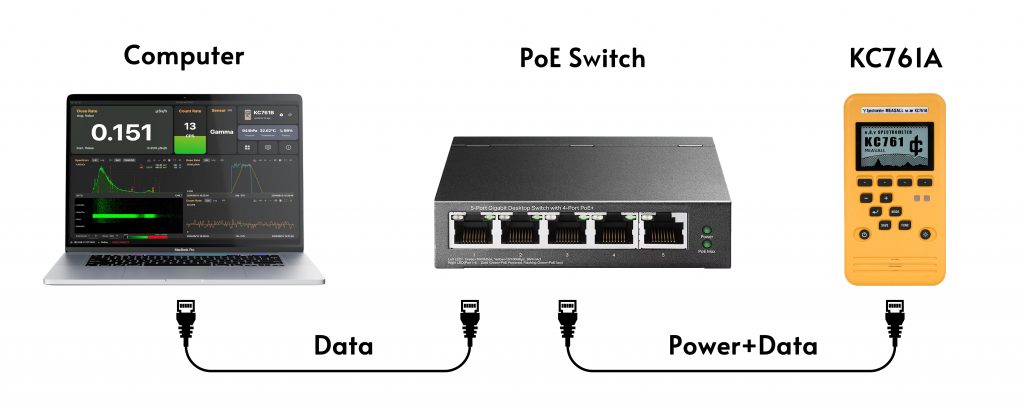
- Connect both the PC and KC761 to the same network switch or router using Ethernet cables.
- Ensure both devices are powered on and connected to the network.
- Configure the KC761 IP settings to be on the same network segment as the PC.
Step 3: Connect KCSDI Software to KC761
- Ensure both the KC761 and PC are powered on and properly connected via Ethernet.
- Install and run the KCSDI software, add KC761 device and enter the KC761’s IP address and TCP/IP port.
- Click the ok button in the KCSDI software.
Troubleshooting
- No Connection:
- Verify that the Ethernet cable is securely connected.
- Verify KC761 Ethernet Switch is ON
- Ensure both devices are in the same network segment.
- Double-check the IP address, subnet mask, and gateway settings.
- Ensure no other devices on the network are using the same IP address.

About PoE powering to KC761
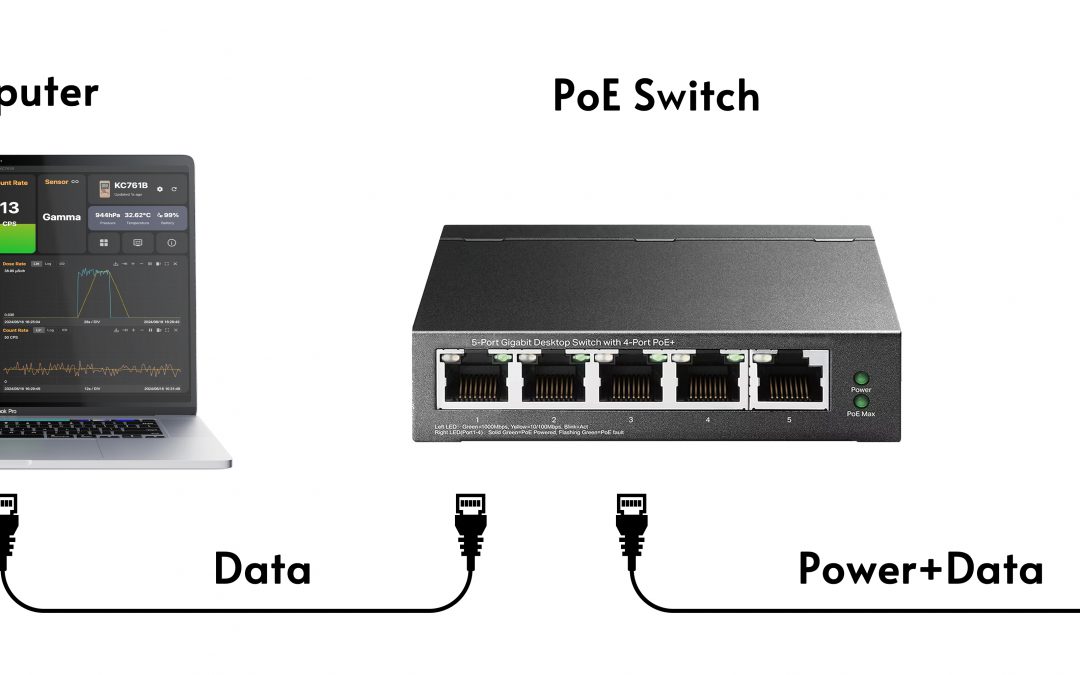
KC761 supports PoE to supplied power. It is a active PoE device support PoE, PoE++ protocol. KC761 is a class 2 device. We test with few PoE switch in the market that work with KC761 correctly like NETGEAR 108P and TPLINK TL-SF1005P. Some PoE switches a not support KC761 with unknown problem, we suggest to do a test before you install the PoE switch in your project.
For unmanned monitoring projects, to make sure the KC761 can be automatically power on after a PoE supply down, use KC761 without batteries installed. In this case, KC761 ONLY powered by PoE supply, and it will enable auto power on function.

